Capture Editor
Launching the Capture Editor
The capture editor can be launched from both the capture collection or in the guide builder.
Launching from the capture collection
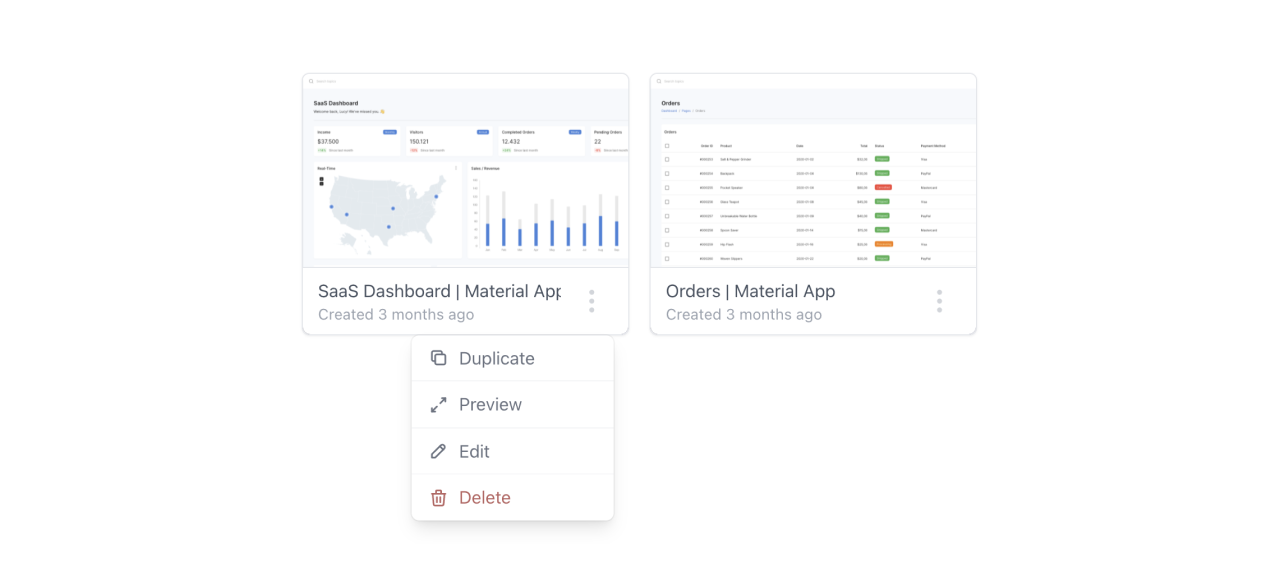
To launch the capture editor from the capture collection, first select the capture you would like to edit. Select 'edit' from the capture menu to launch the capture editor.
Launching from the guide builder
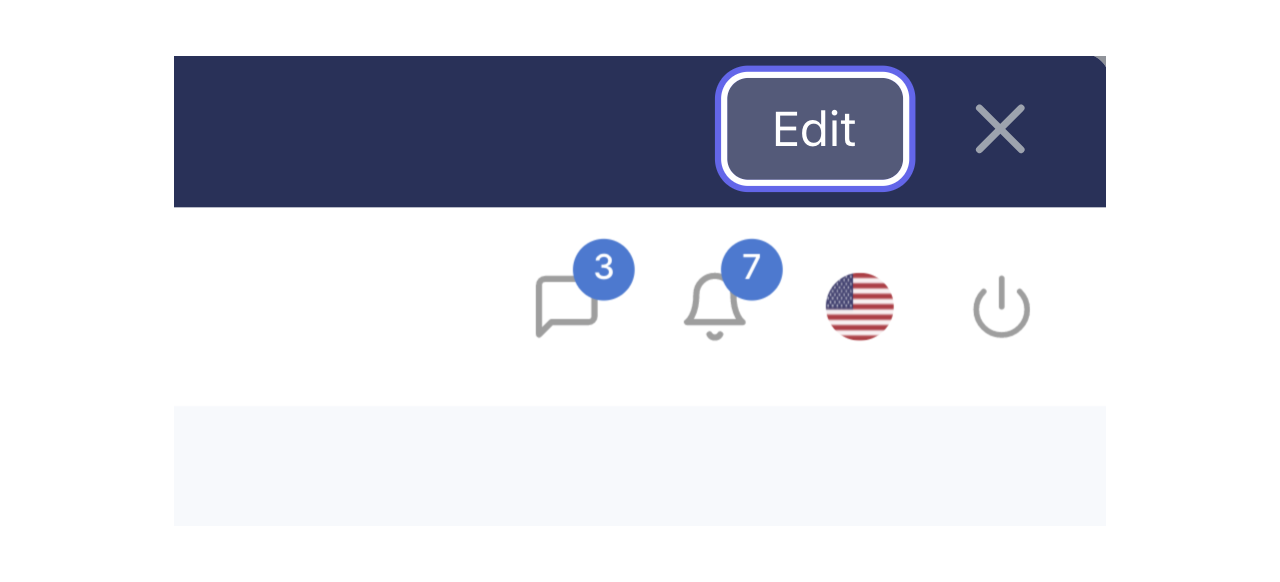
To launch the capture editor from the guide builder, first preview capture you would like to edit. Next, select 'edit' from the capture menu to launch the capture editor.
Editing a Capture
The capture editor is used to make adjustments, text changes, and updates to existing captures.
Selecting an element
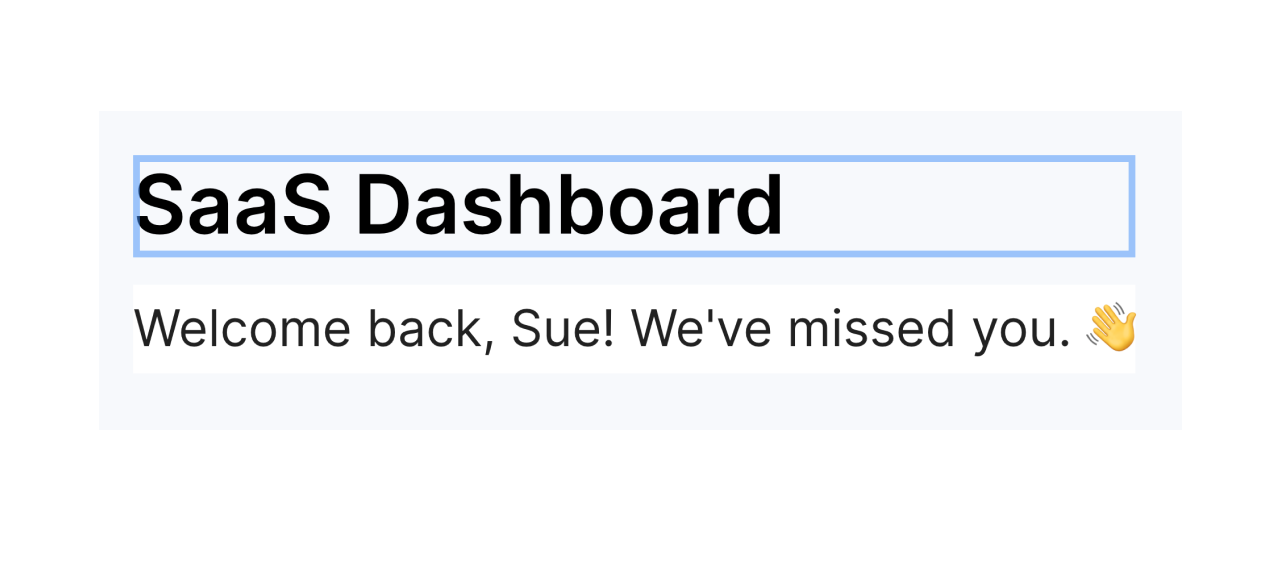
When the capture editor launches, use the element selector to find the element that you would like to edit.
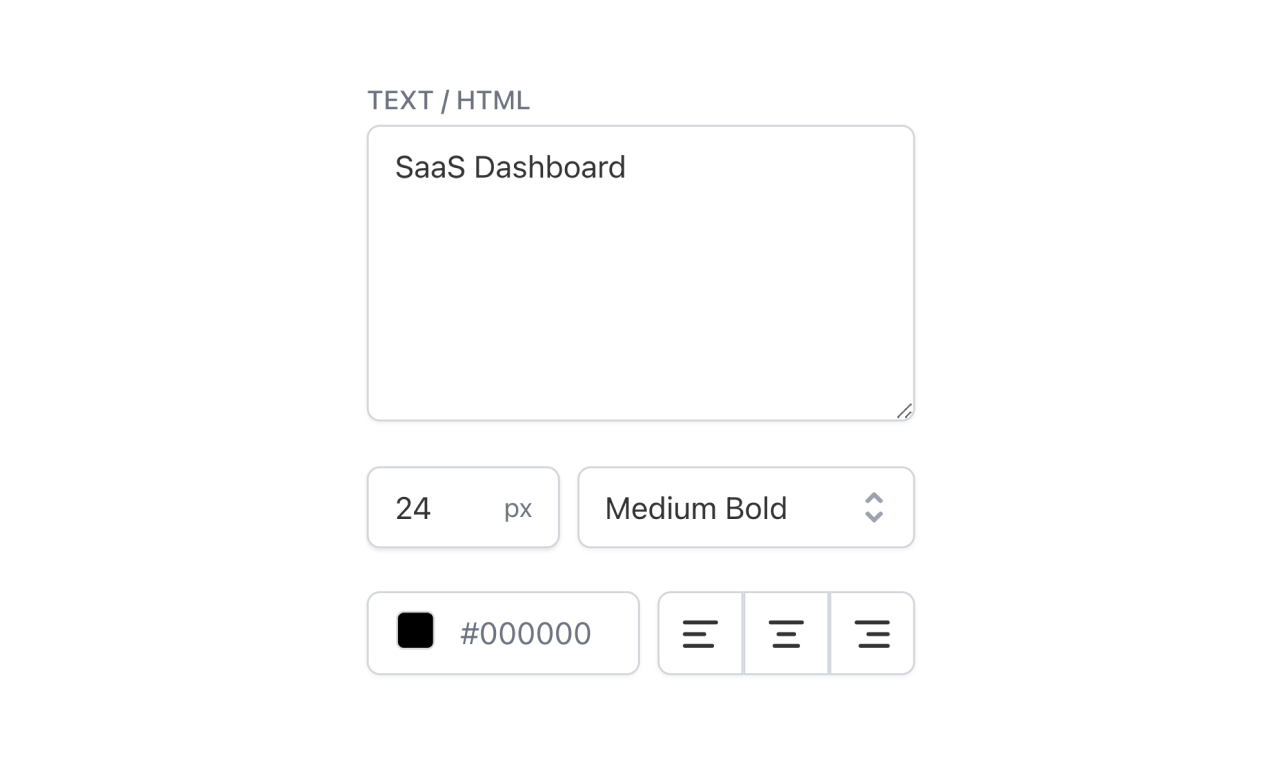
Selecting an element will launch the editor in the sidebar. You can use the text and HTML editor to quickly change text values. From this menu, you can also change text color, size, weight, and alignment within the element.
Edit options
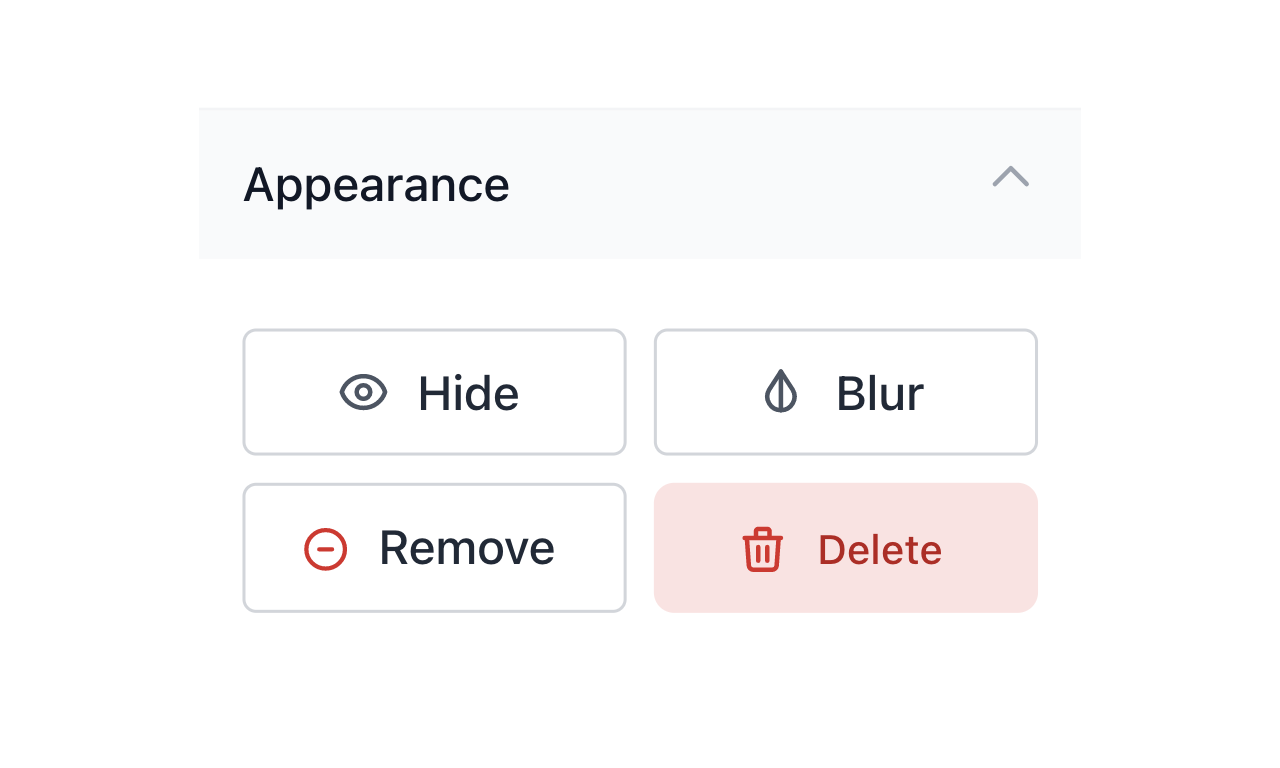
The appearance menu launches a set of options to adjust the selected element. These options include hide (the element's spacing will not change), remove (the element's spacing will be removed), blur (the element will be blurred to hide sensitive information), and delete (this will permanently delete the selected element).
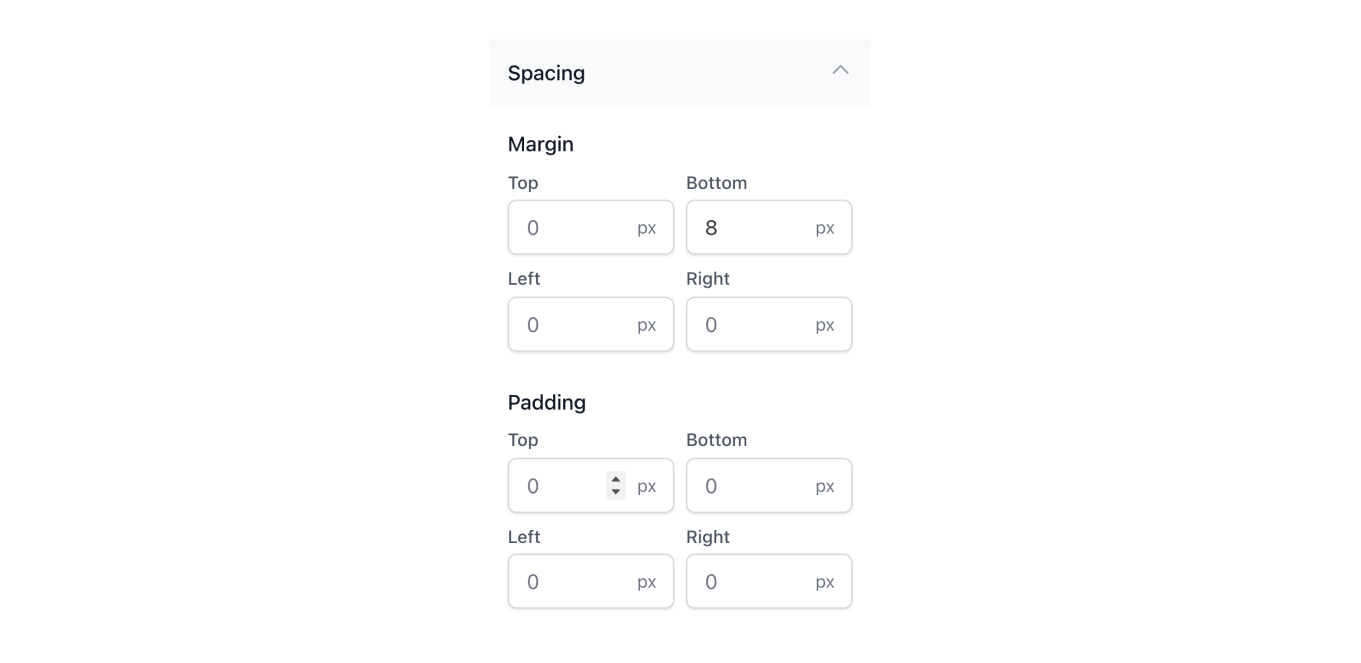
The spacing menu launches a set of options to adjust the spacing for a selected element. These options include adjusting the margin and padding for a given element.
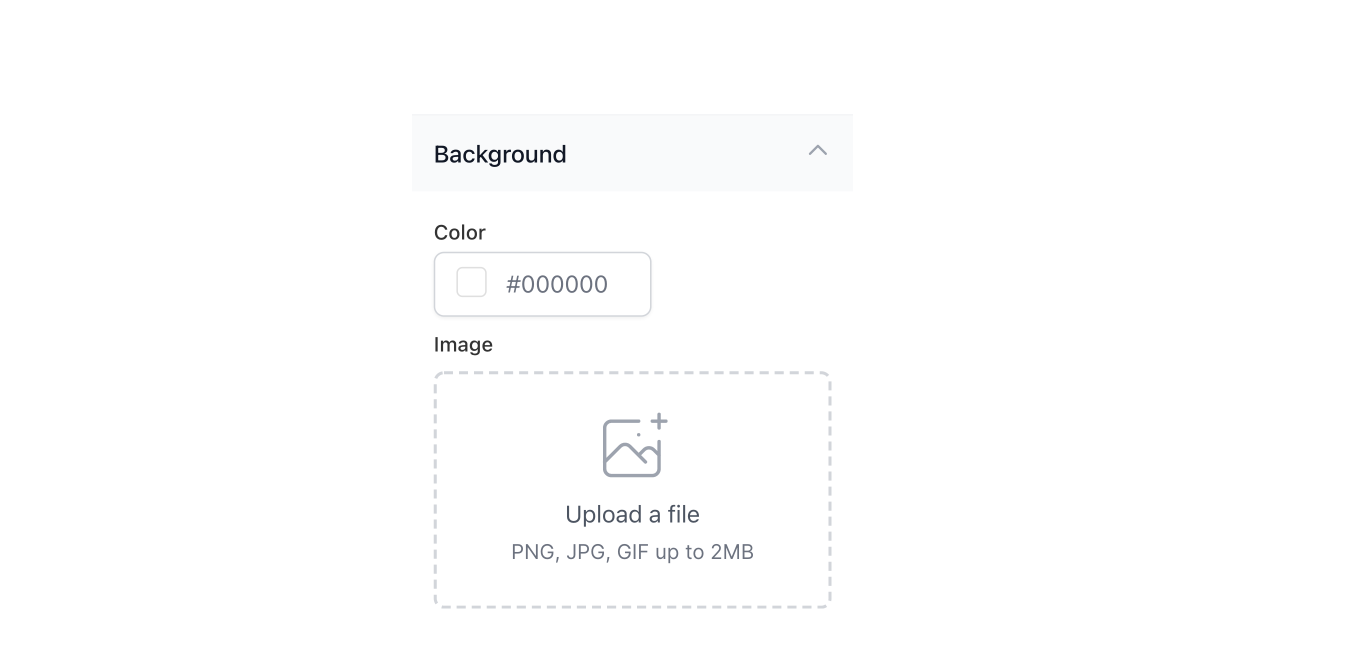
The background menu launches a set of options to adjust the background for a selected element. This can include the backdrop color for a button, menu item, or container. From this menu, you can select a background color or upload a custom image.
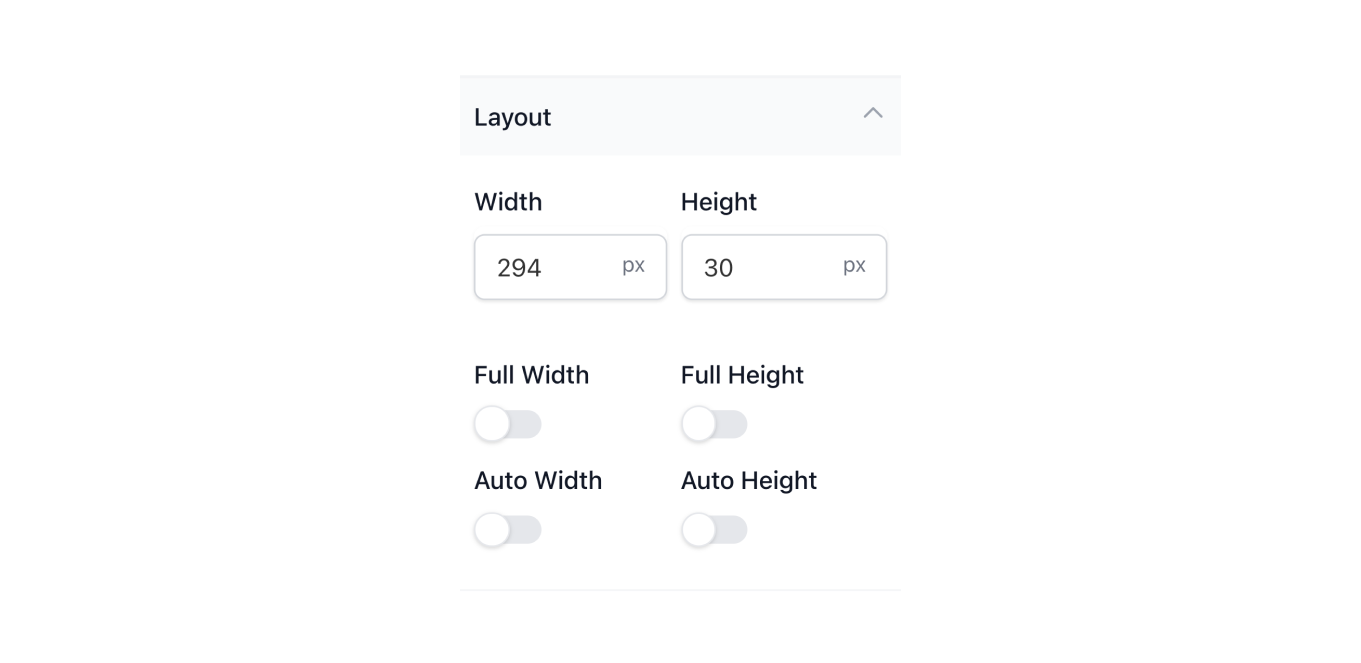
The layout menu launches a set of options to adjust the sizing for a selected element. This can be used to adjust the sizing of a canvas element or image on a capture. From this menu, you can change the height and width (in pixels) of the selected element or use smart toggles to select full width and height (based on the container size) or auto width and height (based on the screen size).
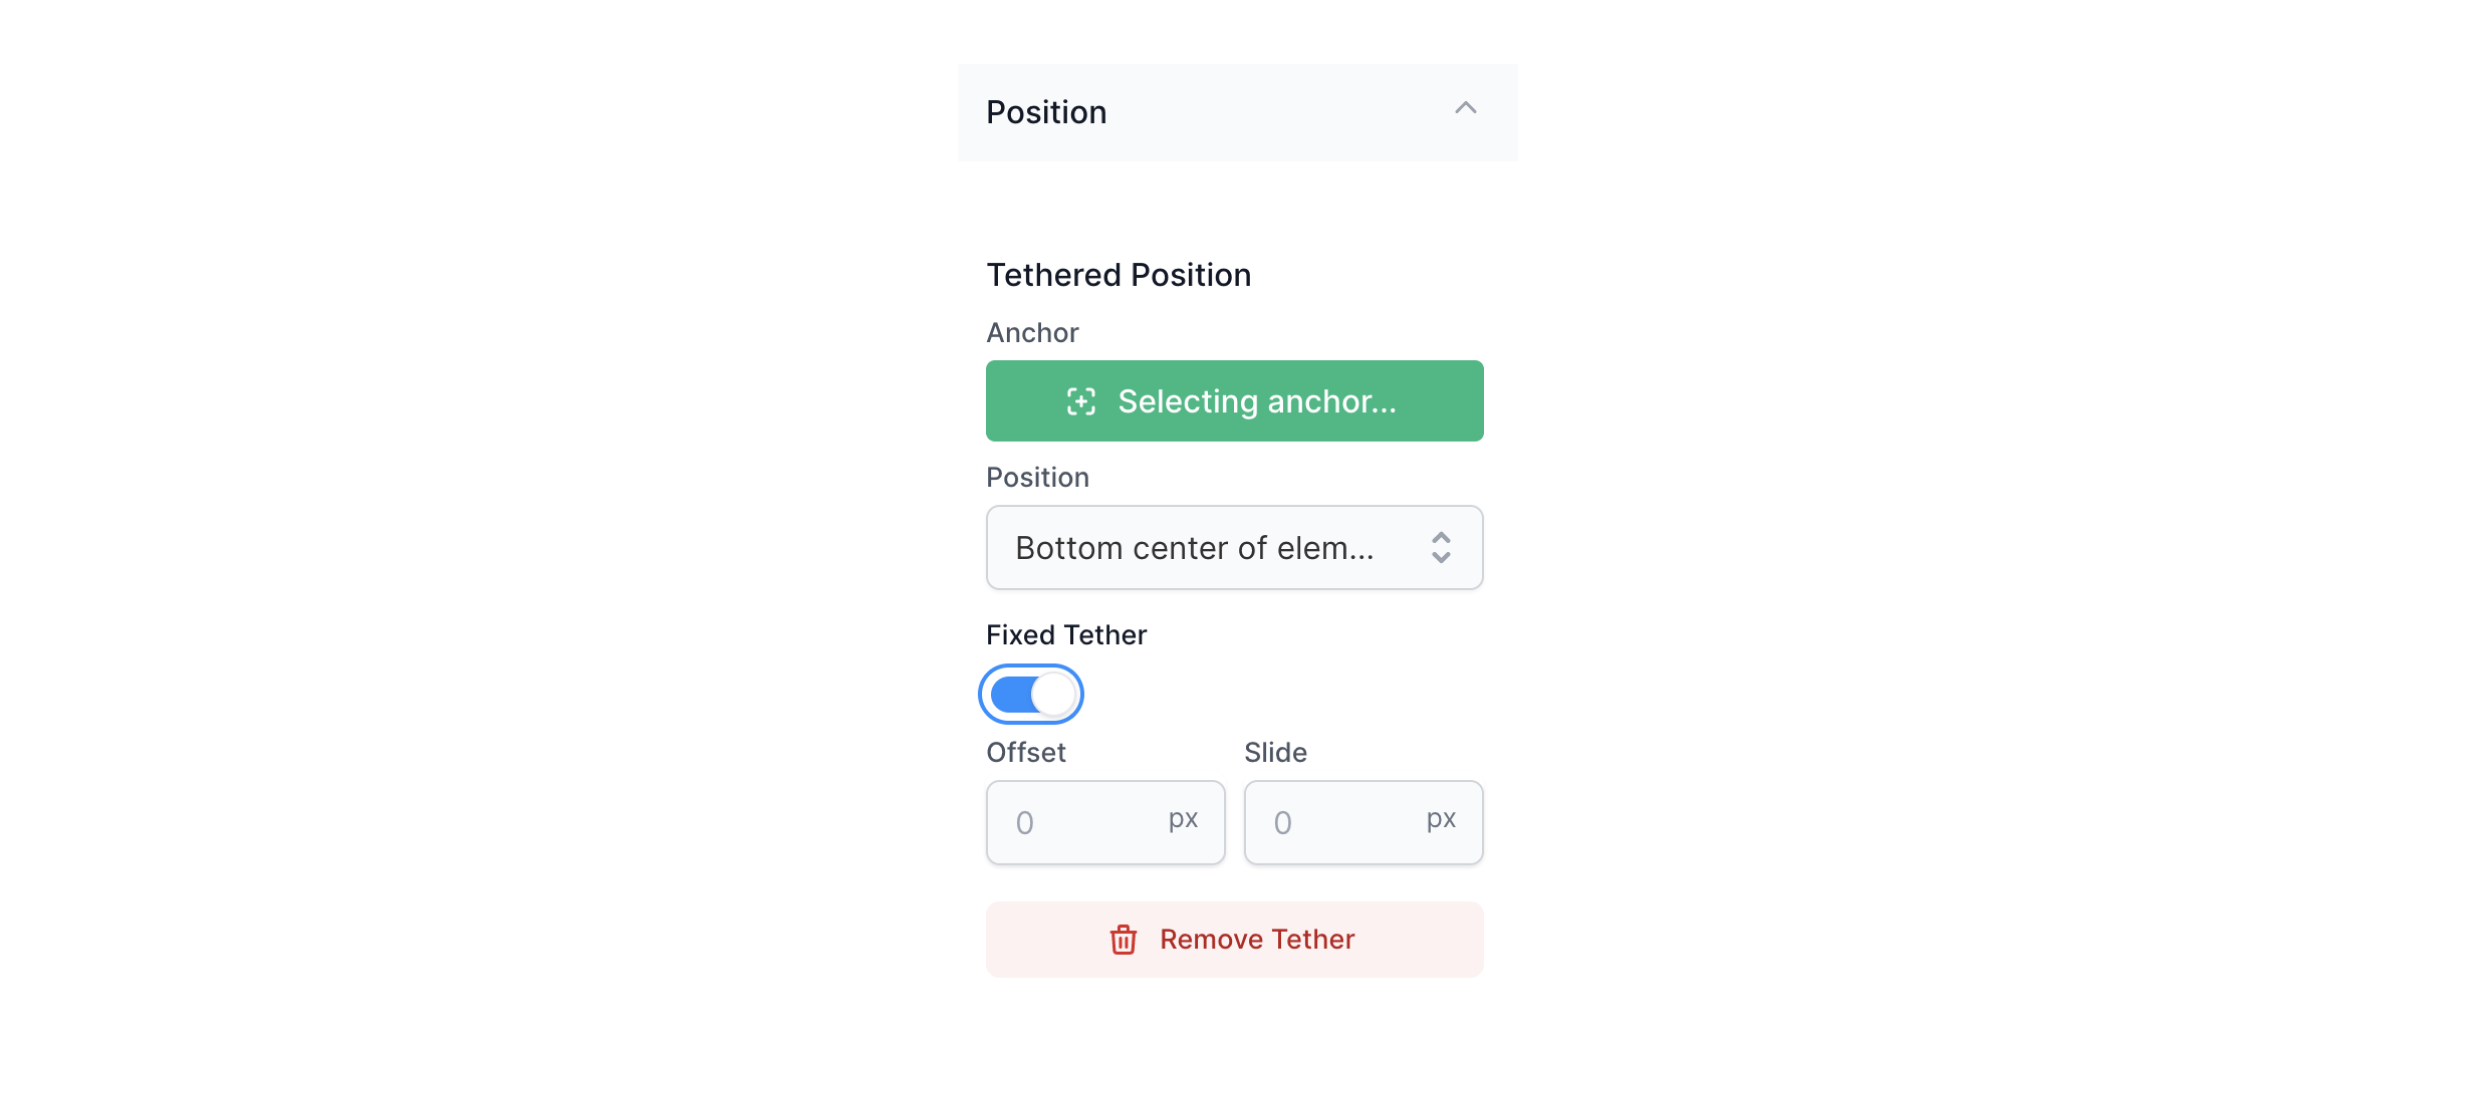
If an element is out of position after capturing (most commonly seen with dynamically positioned dropdown menus), the element can be tethered to another selected element. Once the out-of-place element has been selected and assigned to an anchored element along with a designated position (e.g., top center, bottom center), the elemnent will be set in place on the capture. From this menu, you can also make adjustments to the tethered element with an offset (y-axis) or slide (x-axis) adjustment.
When finished editing the capture, click 'Save & Exit' to close the Capture Editor.