Captures
Creating captures
Make sure you have the Navattic chrome extension installed before creating your first capture.
Building a Capture Collection
To build a Capture collection, first navigate to the Captures menu item in the left menu bar.
Next, select the "Create New" button. Add in a name for this Capture Collection as well as the URL of the application you would like to capture. If your application requires you to authenticate with a user name and password, it is best practice to log in in a different browser tab before taking the Capture.
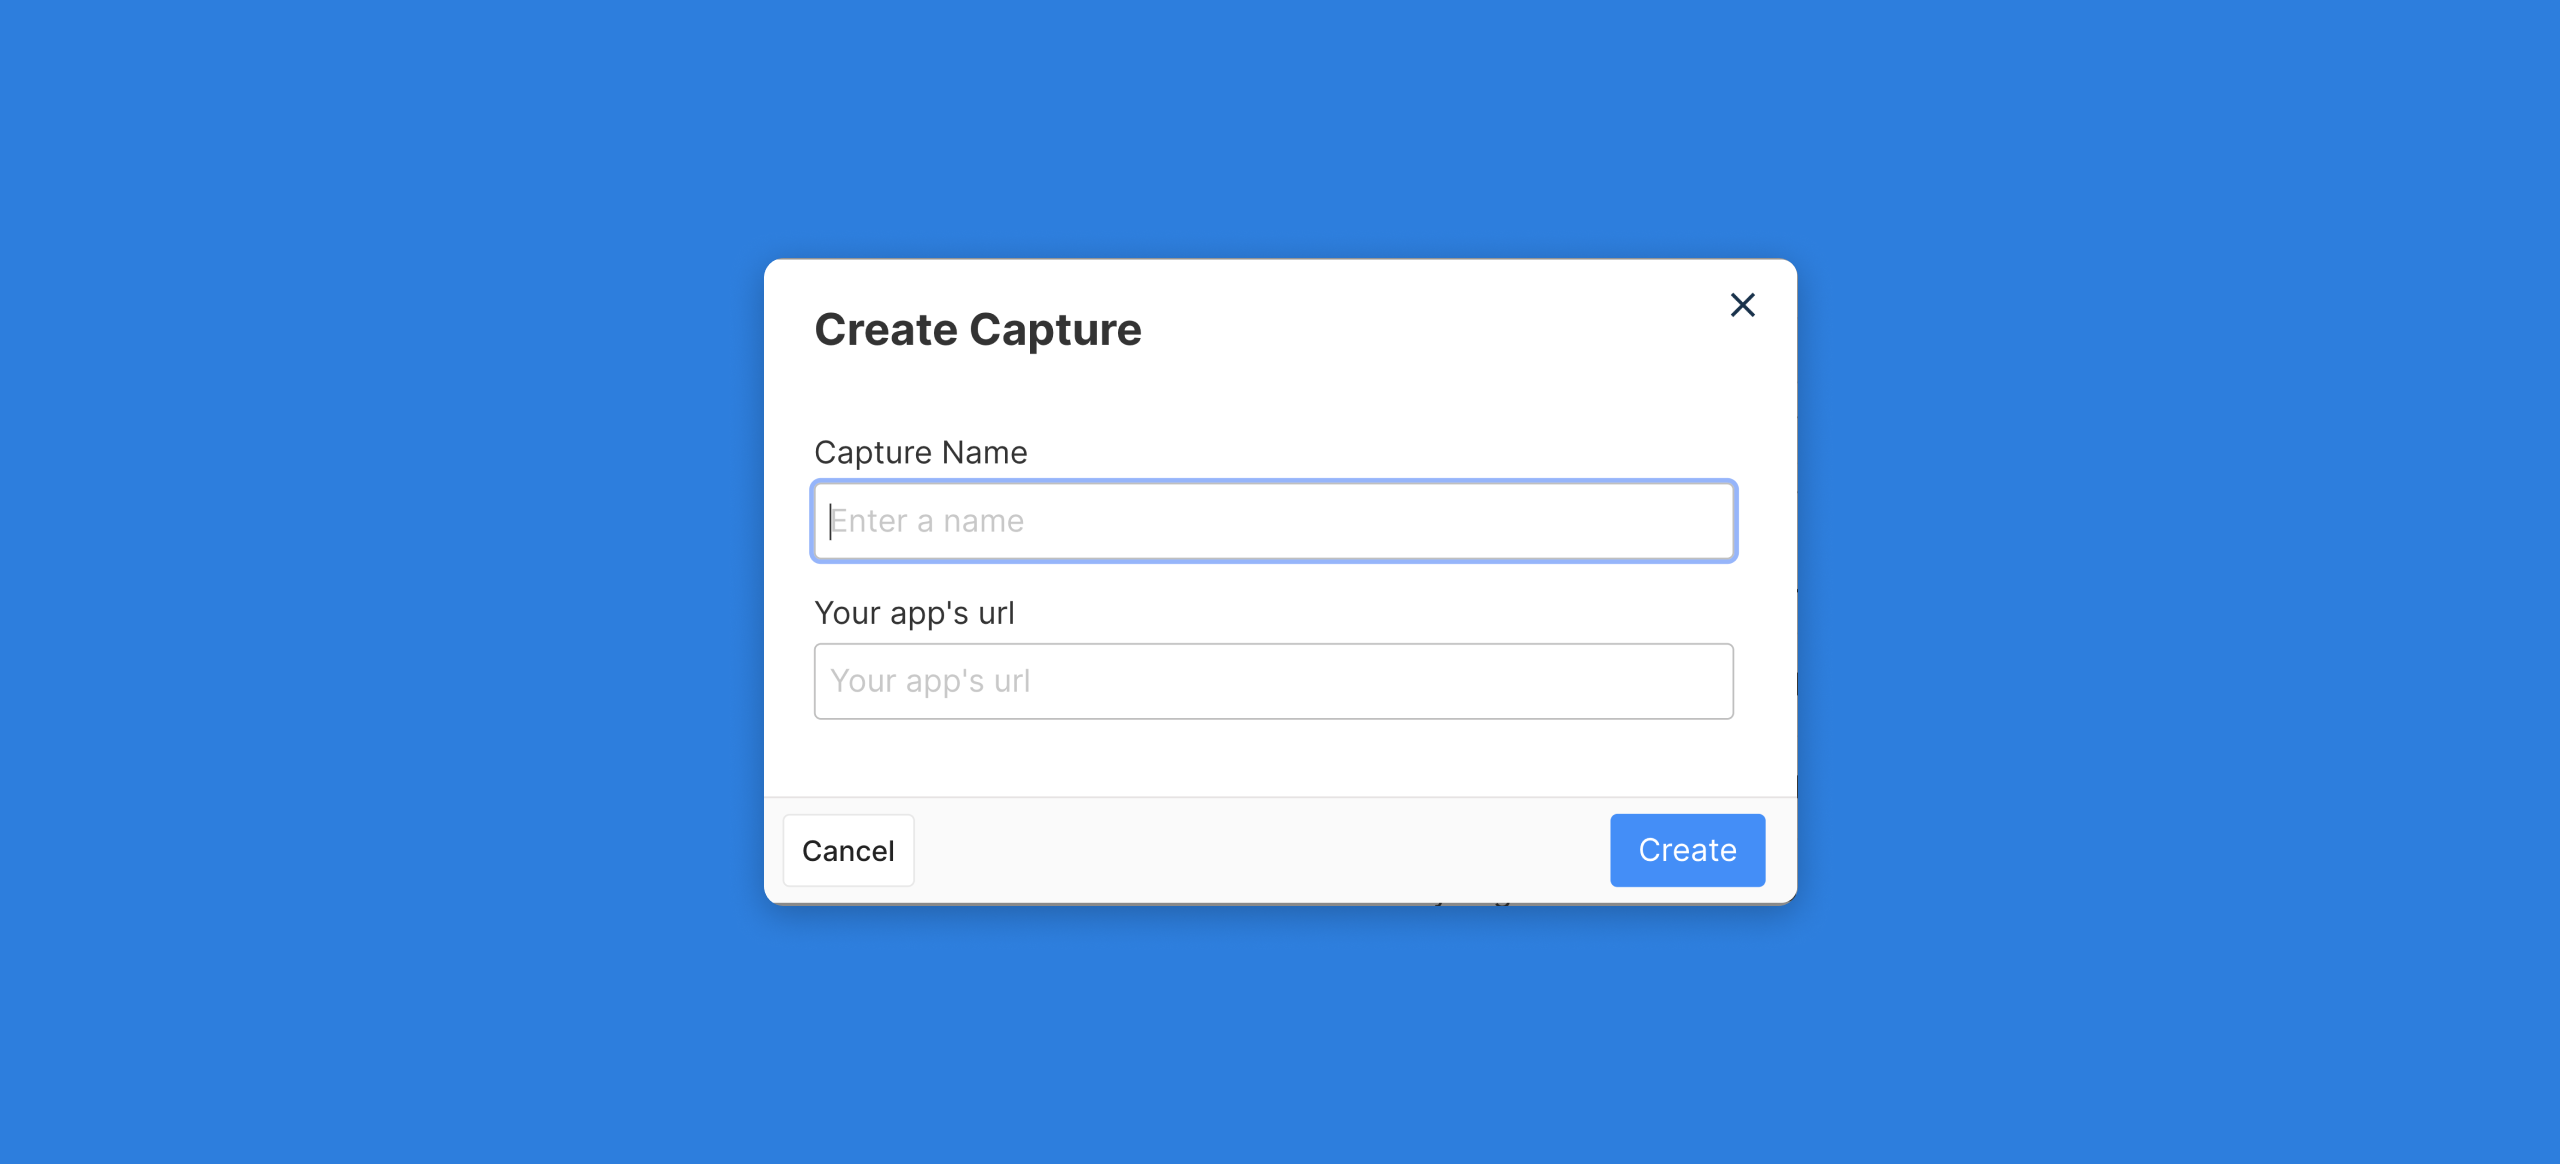
Additionally, when adding a URL, make sure to use the format:
**https://**yourappname.com
Again, make sure that you have the Navattic Google Chrome Extension installed to continue creating your Capture Collection.
Once you click Create, a new tab will open in your browser. The screen may take a few seconds to load all content. Additionally, you will see a new Navattic Capture Bar appear on the bottom of your Chrome browser.

Mobile & Desktop App Support
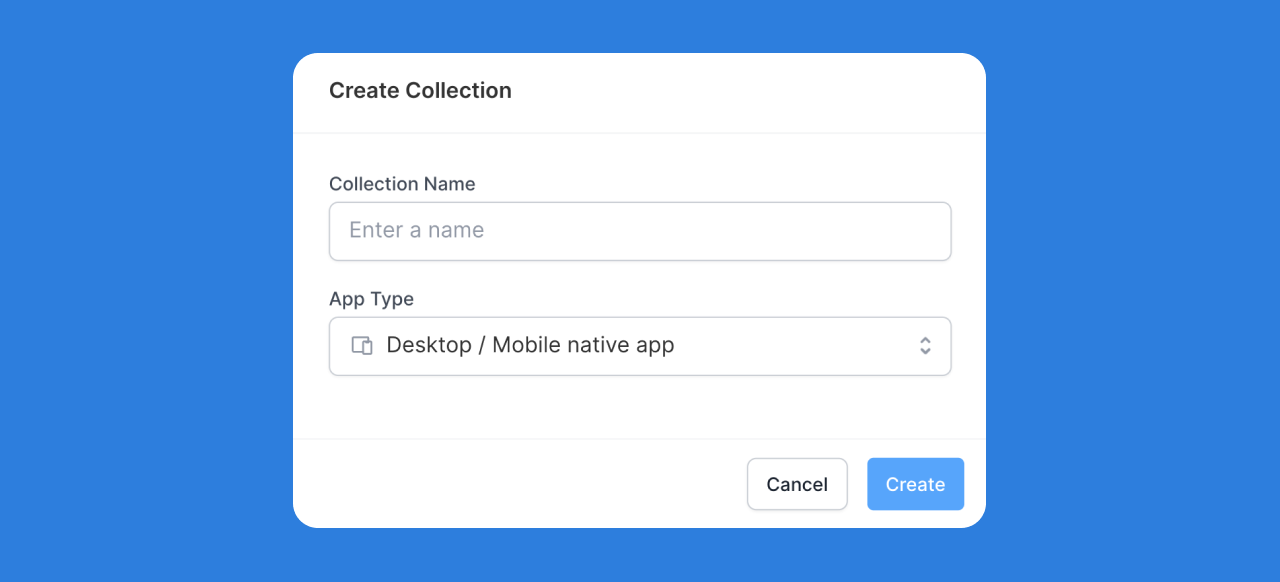
You can also upload screenshots to support Mobile and Desktop apps. Select “Desktop / Mobile native app” when building your Capture Collection to upload screenshots.
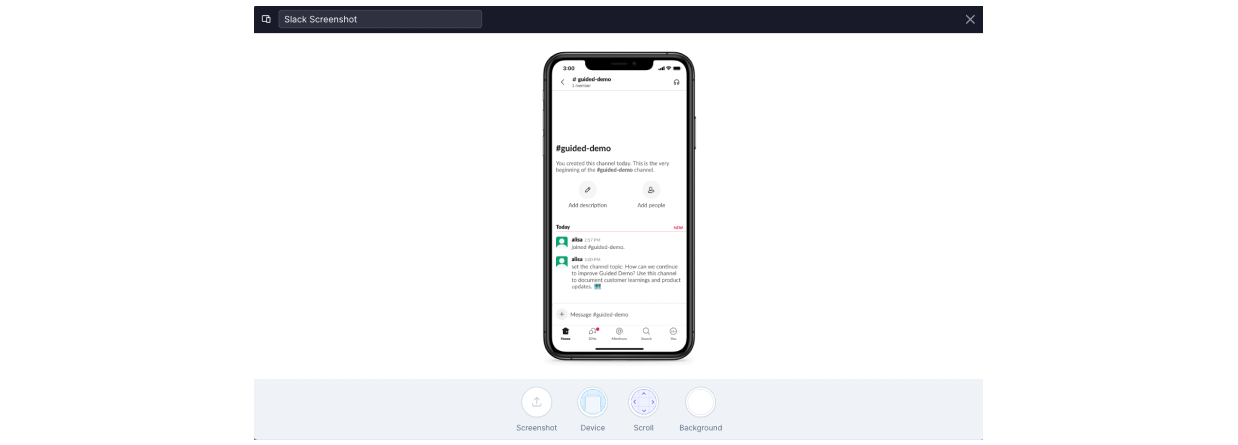
Once uploaded, you can customize your Screenshot with a Device border, choose to allow or disable Scrolling on the Screenshot, and set a background color if preferred.
When using Tooltips, Triggers, or Beacons with Screenshots, an Element Selector will appear on your Capture to help create a clickable element. Resize this box to select the clickable element in your Screenshot.

You will now be able to attach and anchor Tooltips, Triggers, and Beacons to this element.
Taking Captures
To create captures for your application, you must first think about the right story you are trying to tell with these interactive snapshots. Do you want to showcase one feature, multiple features, or your entire application? You can always add additional Captures to your collection later.
Once you have the right progression of screens in mind to tell the right story, you can start creating your Capture Collection. To take a Capture, simply press CMD + C (both Mac and Windows) to capture the elements on the current screen. Unlike a screenshot, the capture will collect all elements on the page even if there are elements out of view above or below the current window.
This action will capture the current page state. If a menu item needs to expand or you want to showcase a dropdown list, that would be a new page state and would require a new capture.
Once you have pressed (no need to hold the keys) CMD + C, you will see a spinning icon that indicates the page is being Captured. This often will take a few seconds when capturing all elements on the current page.

If the capture bar blocks any elements needed to navigate to a new page, you can move the capture bar to the top (or back down) to expose those elements.
Make sure that you wait until the spinning icon has vanished before progressing to the next page for the next capture.
After you have the screen captured, click the Finish button to navigate back to the Navattic application. This will close the current tab.
The Capture Collection
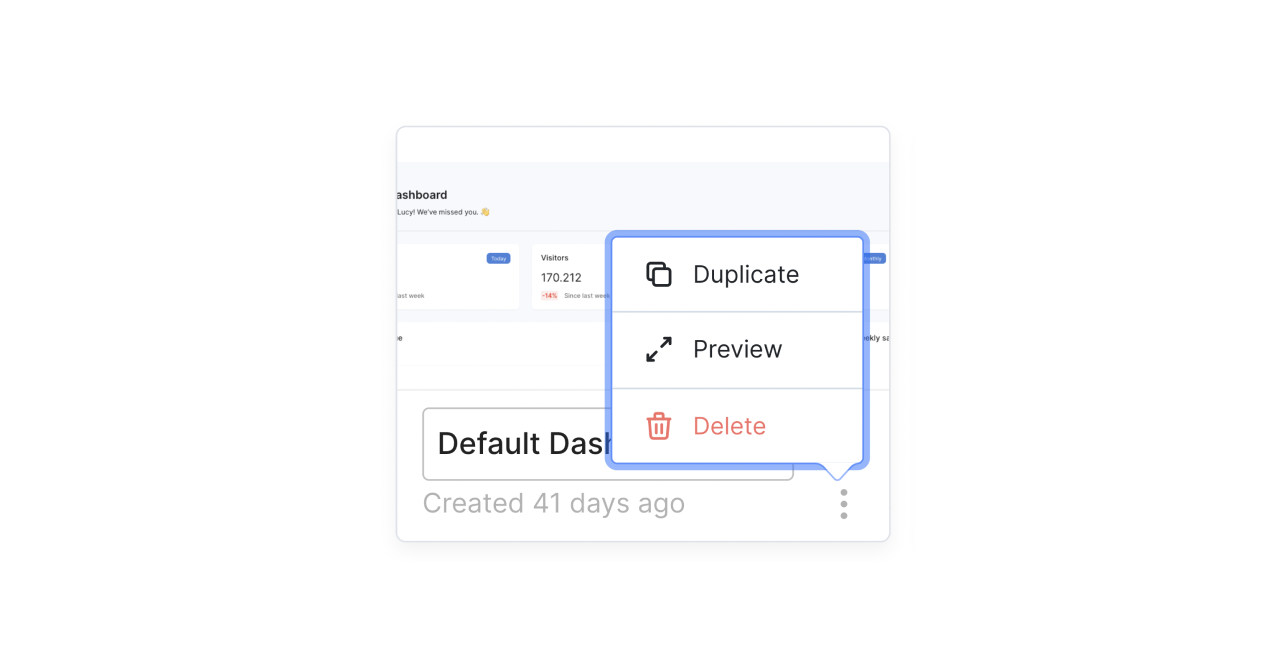
You should now be brought to a page with your set of Captures.
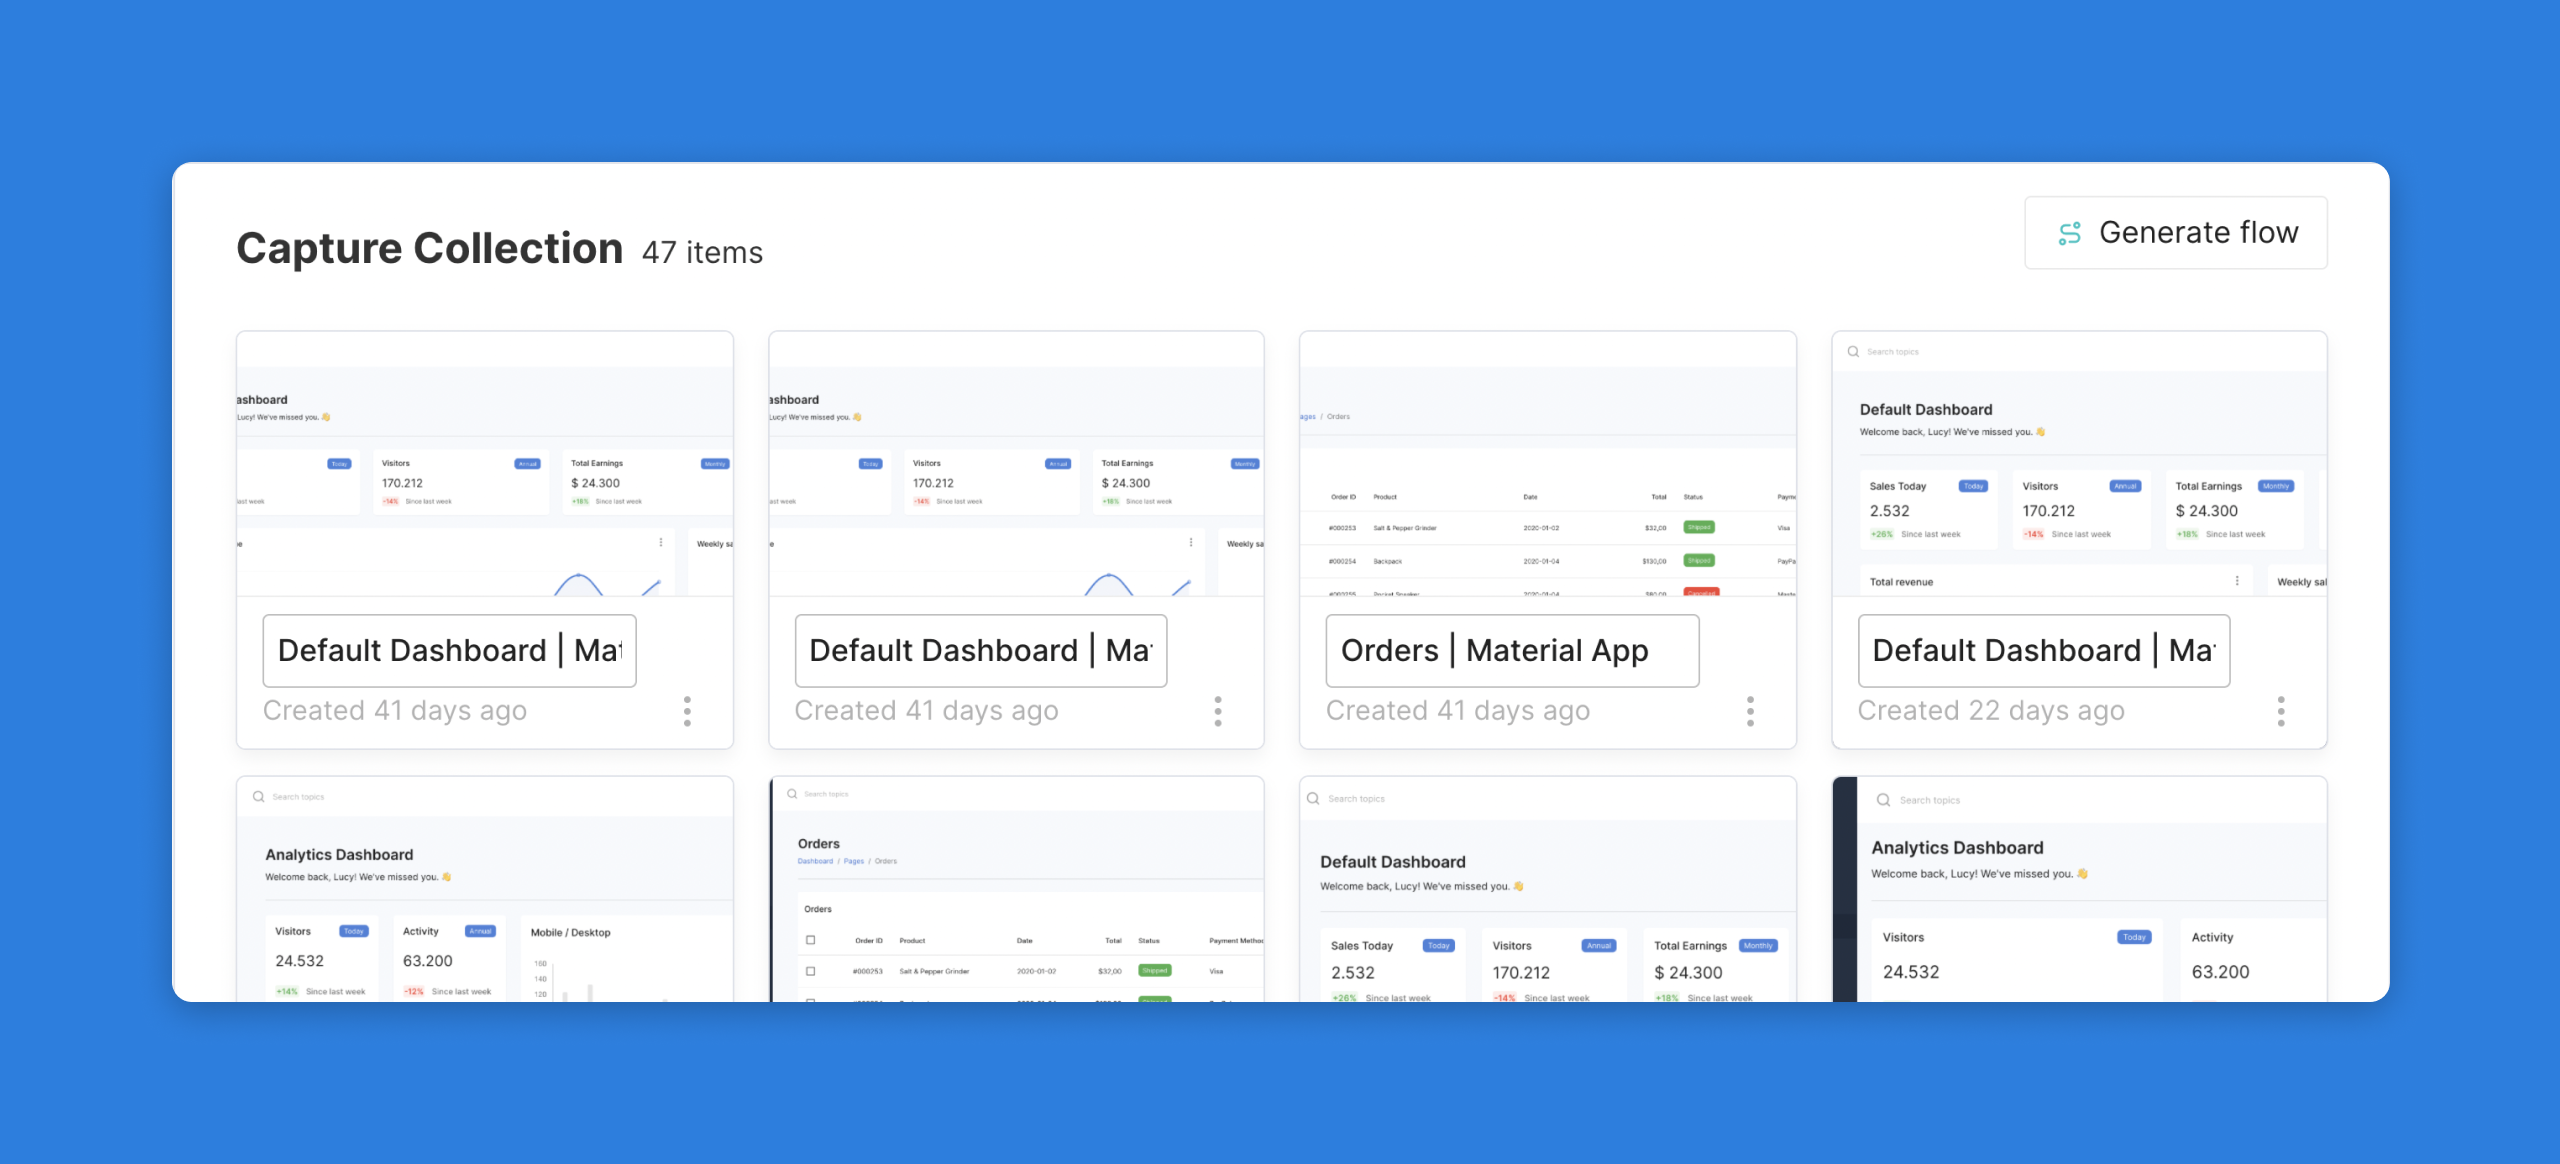
From this Capture Collection view, you are able to duplicate, preview, delete, and rename an individual capture by selecting the menu icon (three dots) in the bottom right corner.
Adding to a collection
Adding to an Existing URL
In the Capture Collection, you are able to add a capture (from the same origin URL) to an existing collection. The "Add to Collection" option will open a new tab running the Navattic Chrome Extension with the original URL that was submitted. This will enable you to collect additional captures to add to an existing collection.
Additionally, from this menu you are able to delete the entire collection.

Creating Captures Across Multiple URLs
If you want to select captures from a new URL (e.g., showcasing a new website or distinct section of an application), you are able to do so by creating a new capture collection.
Once you have the new capture collection, you can create a new guide or add these captures to an existing guide to string together captures from mutliple sources.