Personalization
Personalizing Captures
Use variables to create a tailored demo experience for every viewer.
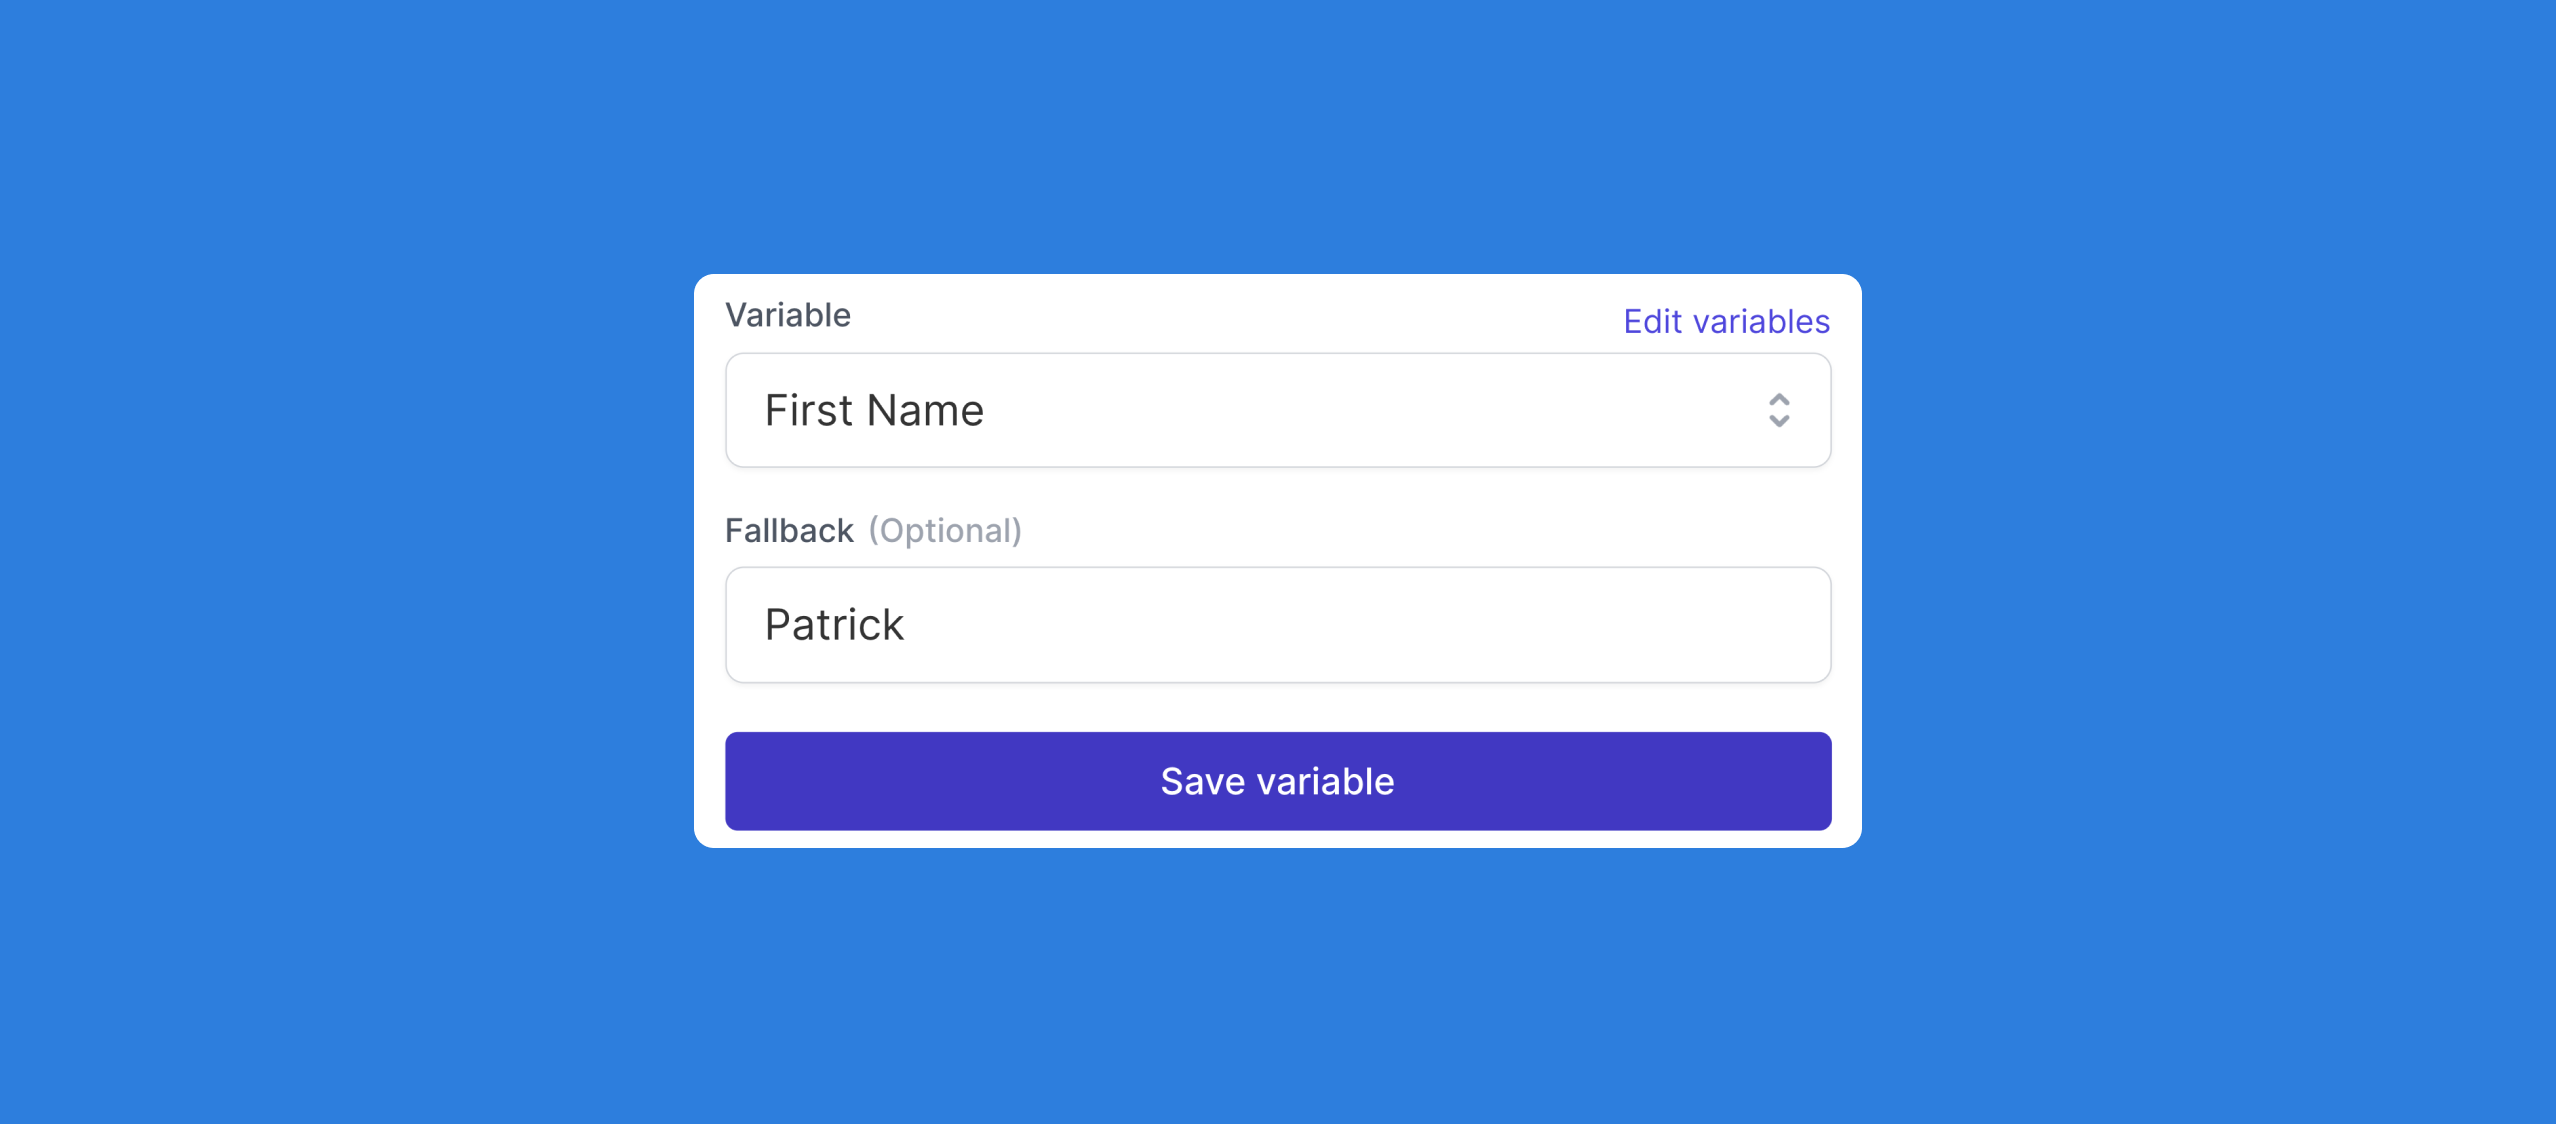
When editing a capture, the ‘Add Personalization’ option enables users to add dynamic variables to captures. First, select the area(s) on the capture that you would like to personalize. Text and logo images can be dynamically adjusted. Next, select the variable that you would like to adjust. Finally, select an optional fallback value. This is the value that will be used if a variable token is not found.
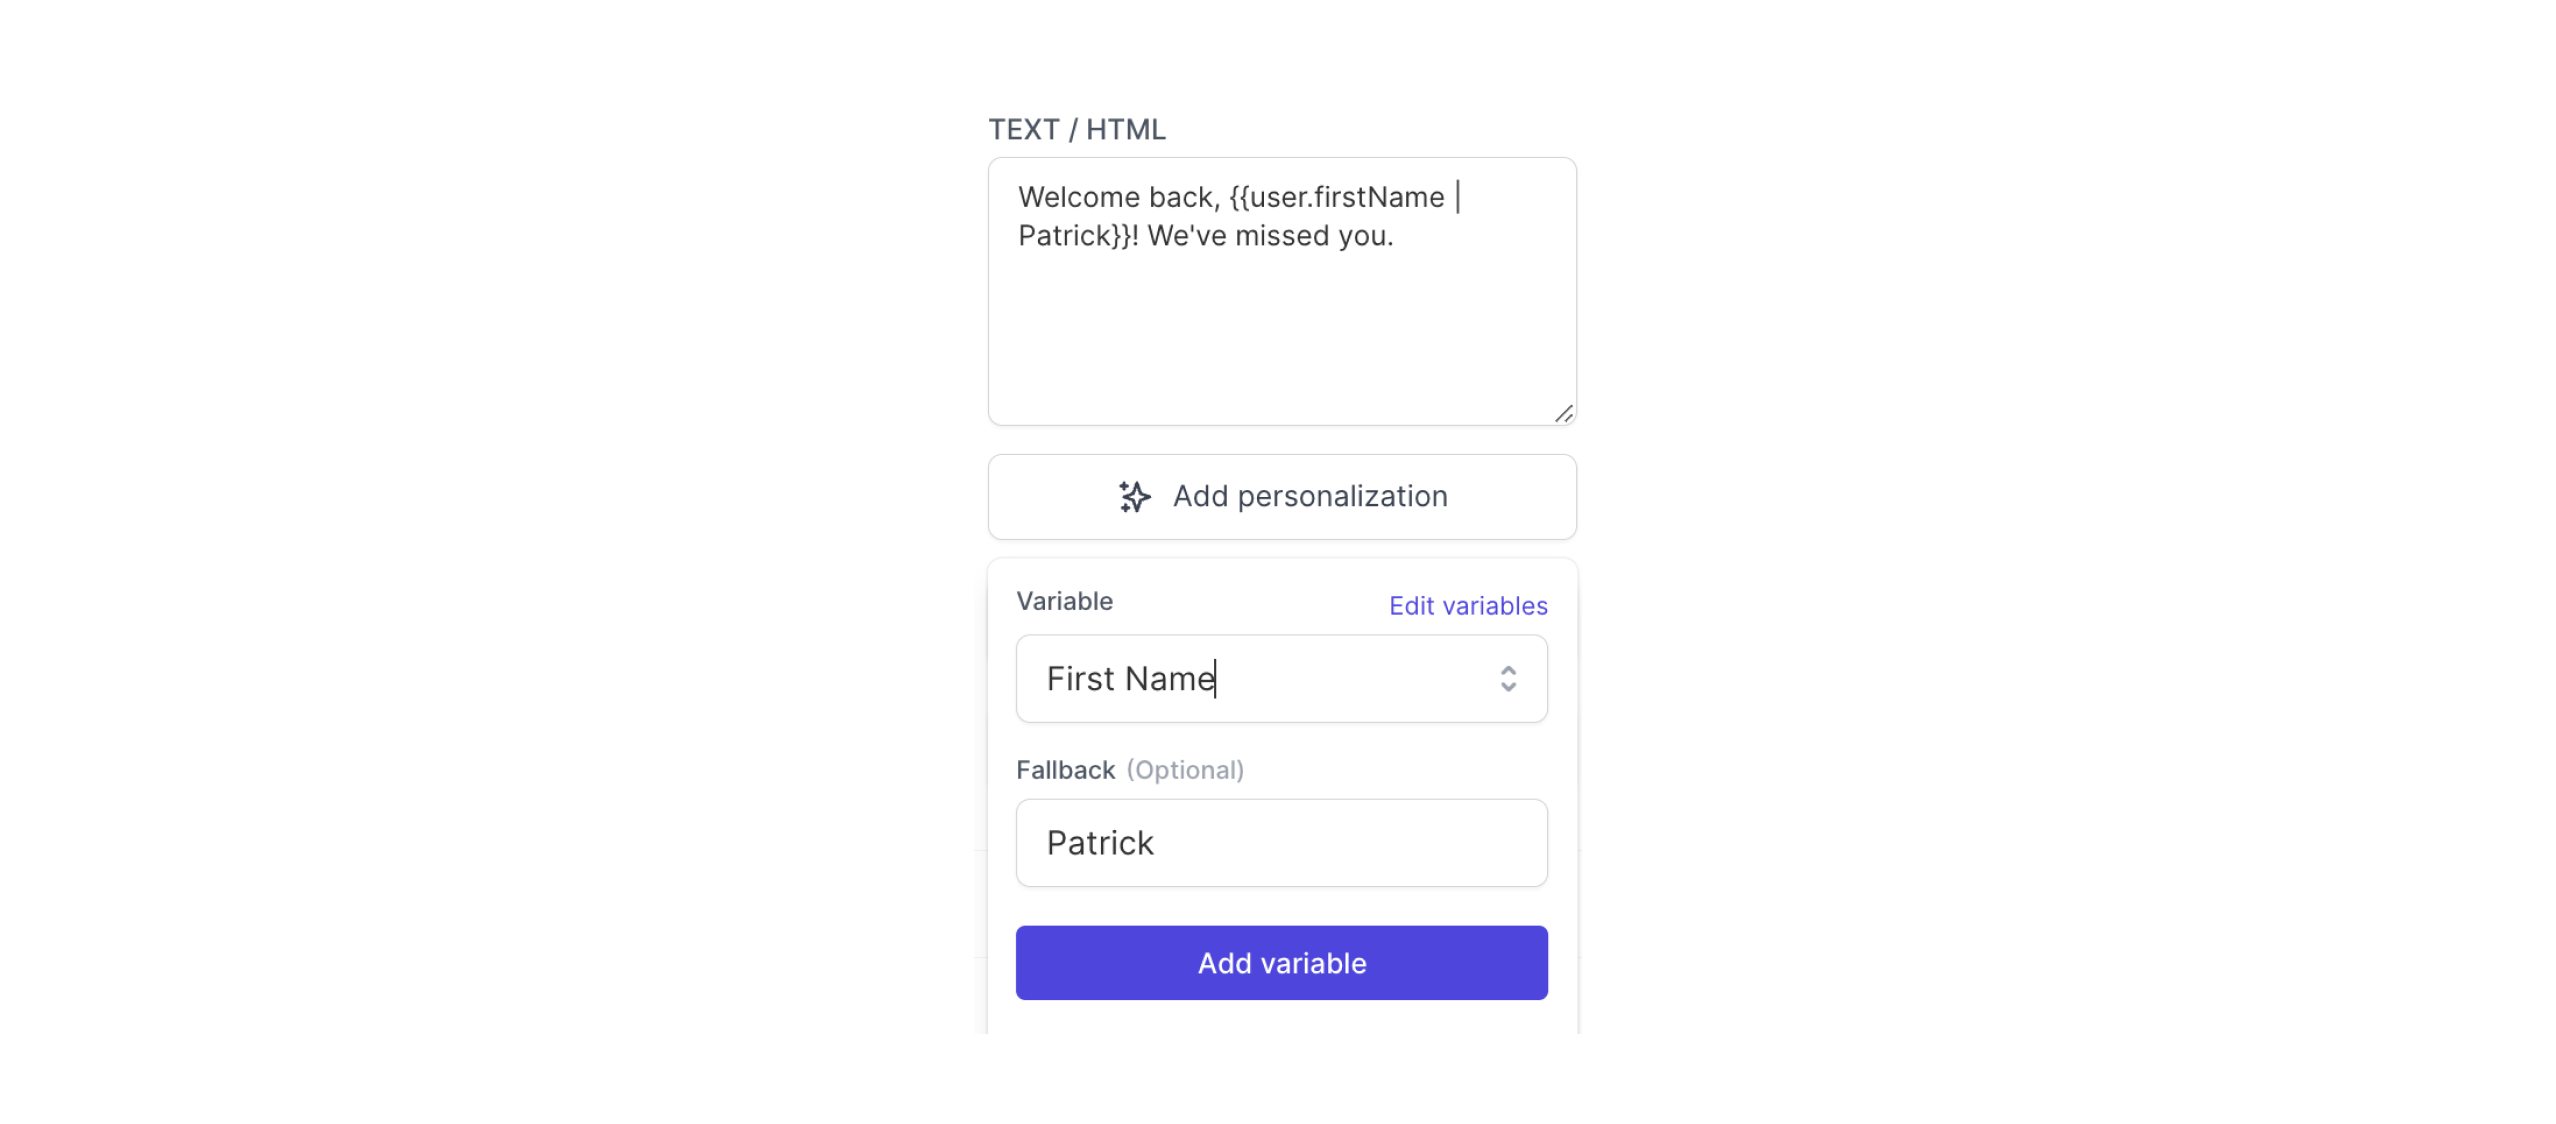
When personalization is applied to the project, this variable will dynamically change based on the set value.
Personalizing Guide Steps
Speak to your audience using personalized variables within guide steps.
To add personalization to a guide, first select the personalization option at the desired step.
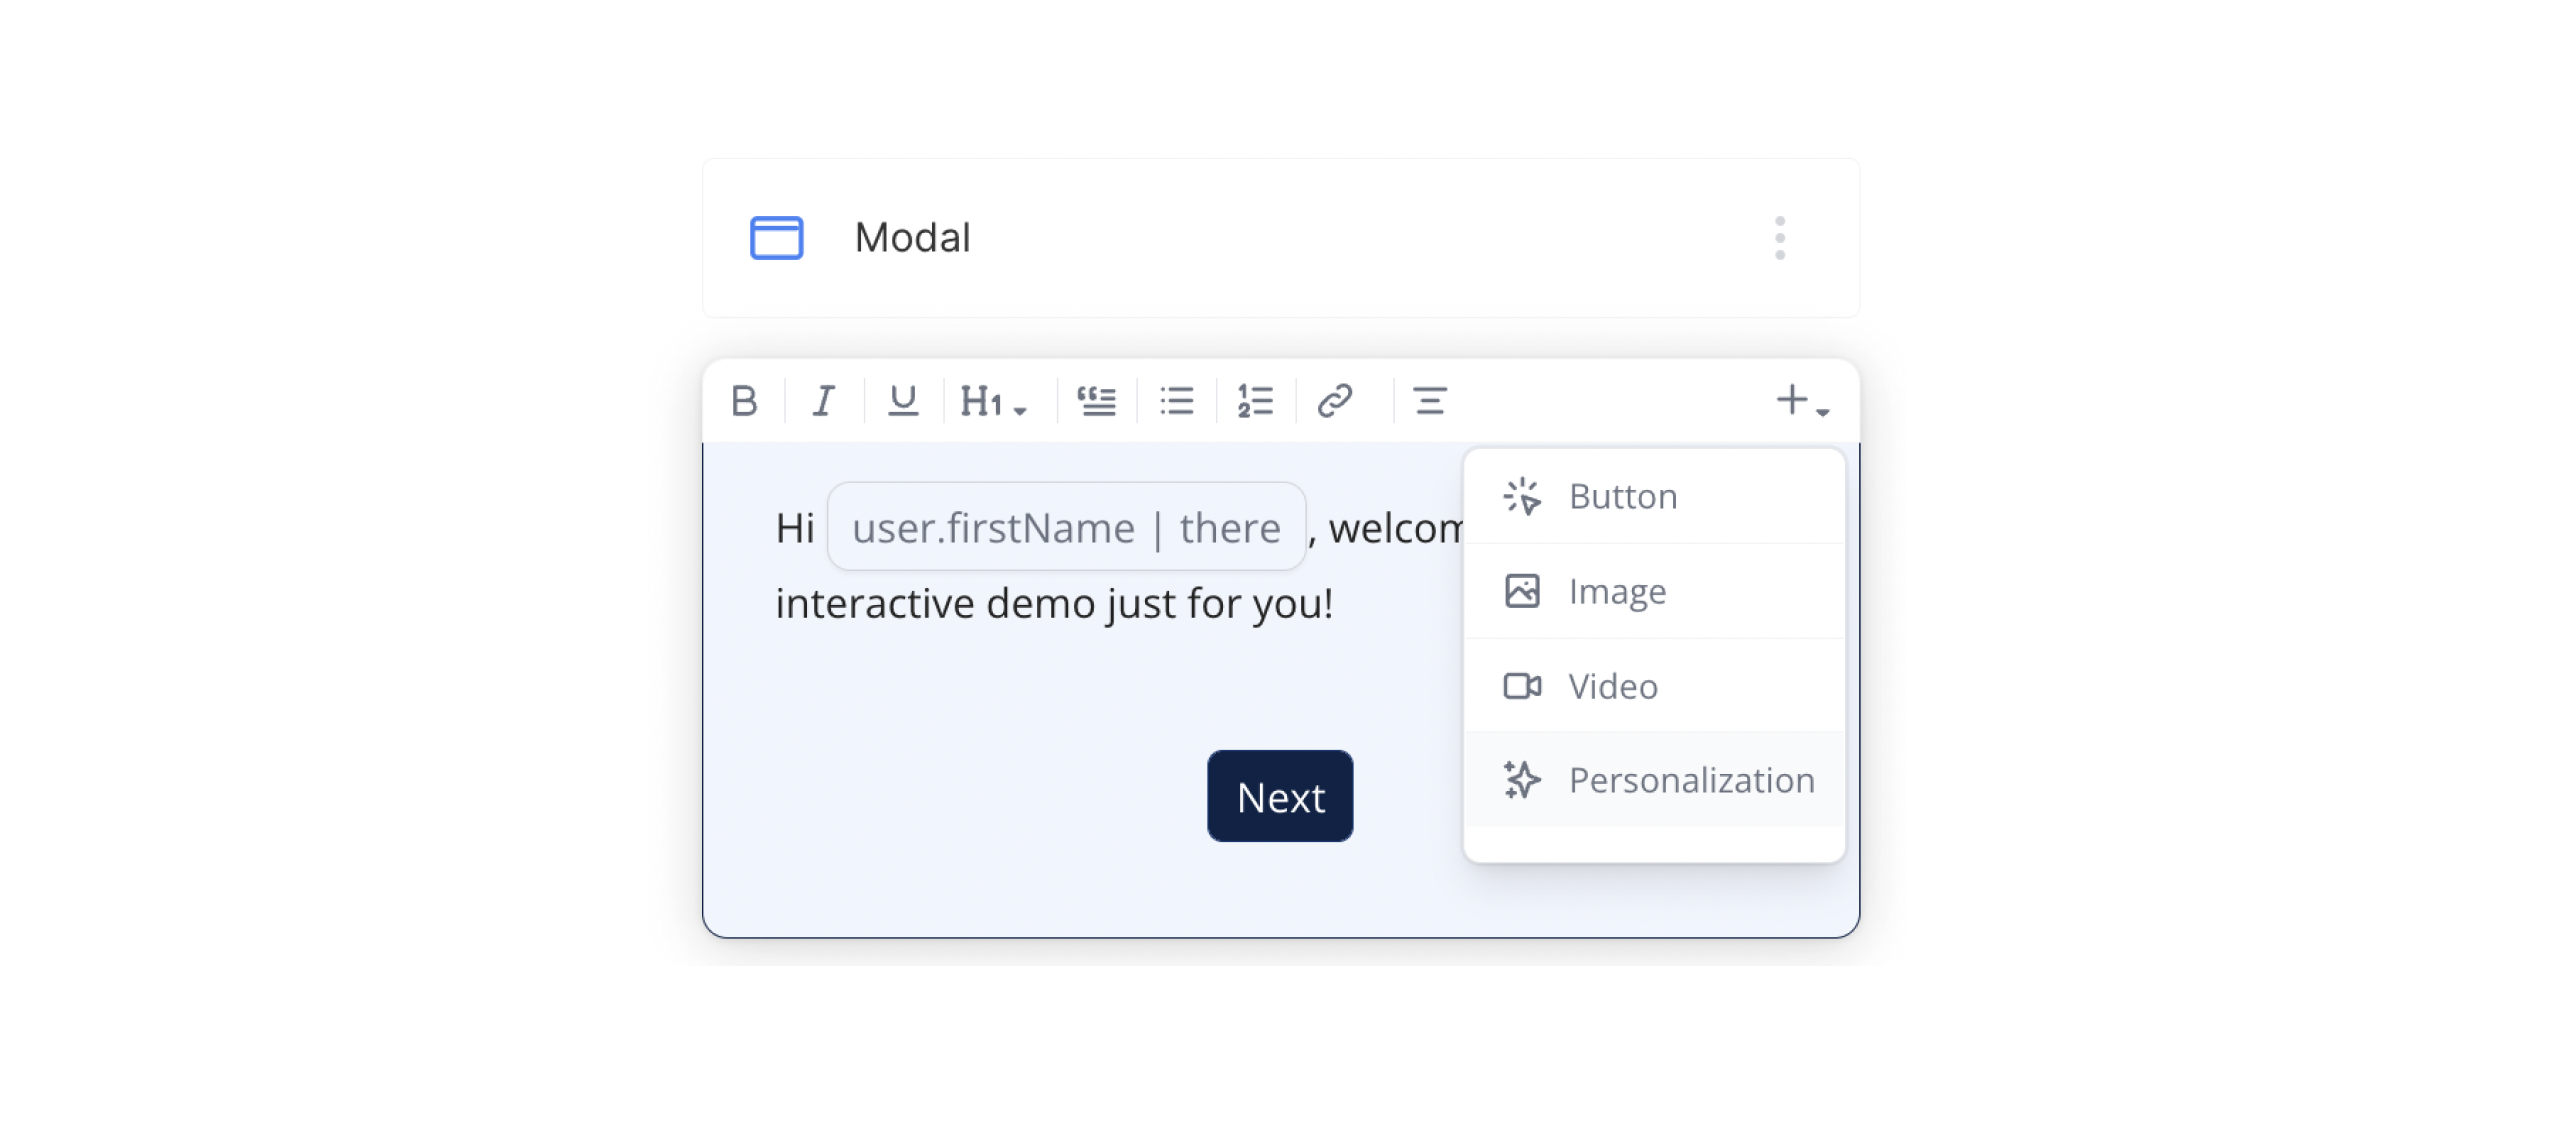
Next, select the variable that you would like to add to the step. Finally, select an optional fallback value. This is the value that will be used if a variable token is not found.
Form Fill Personalization
Once the personalization fields have been set on the captures and guide steps, form entries can be used for personalization. After a form has been added, select the associated field that you would like to use for personalization. Next, turn on the toggle to use the field for personalization. Lastly, select the variable to associate to this field.

When a viewer submits the form, the personalization will be applied based on their input. Personalized steps ahead of the form step in a flow will use the fallback option since the viewer will not have yet entered a value.
Outbound Personalization
Once the personalization fields have been set on the captures and guide steps, use query parameters to set the desired attributes. The attribute names can be found in the Personalization menu.
Once the attribute names have been identified, users can then build a custom demo URL with unique query parameters as seen in the following example:
ProjectURL?company.domain=stripe.com&user.firstName=Patrick&company.name=Stripe
Lastly, you can assign data from your marketing automation platform or CRM to send to your Navattic project URL. See the following resources for more information on working with data tokens: